
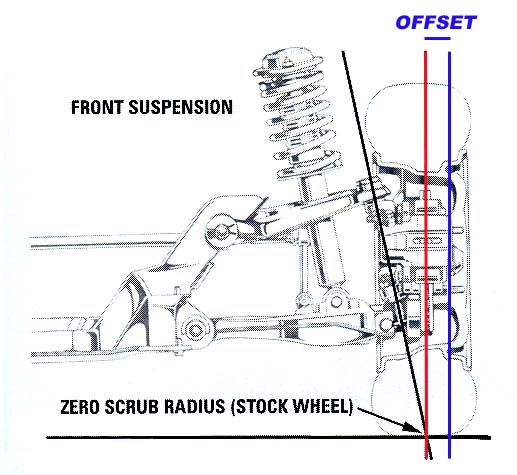
wheel offset why it matters guide to proper honda wheel

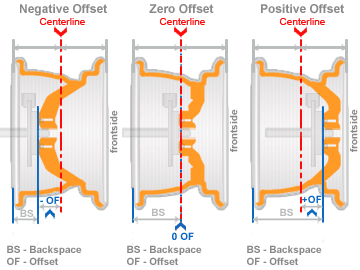


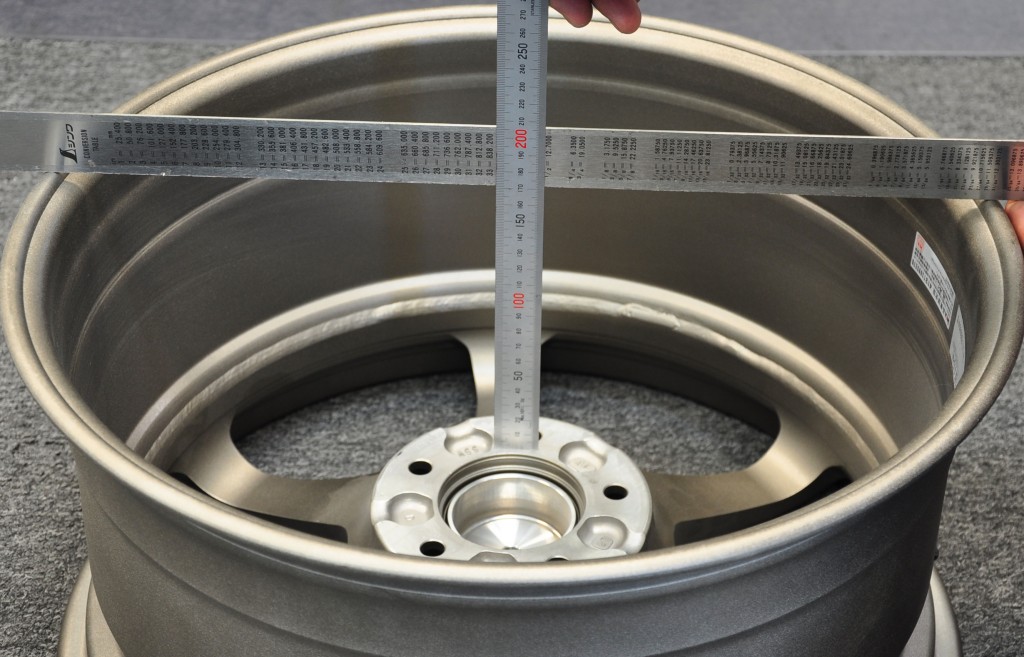


 Wheel Offset And Backspacing Explained Custom Offsets
 Niche Wheels.
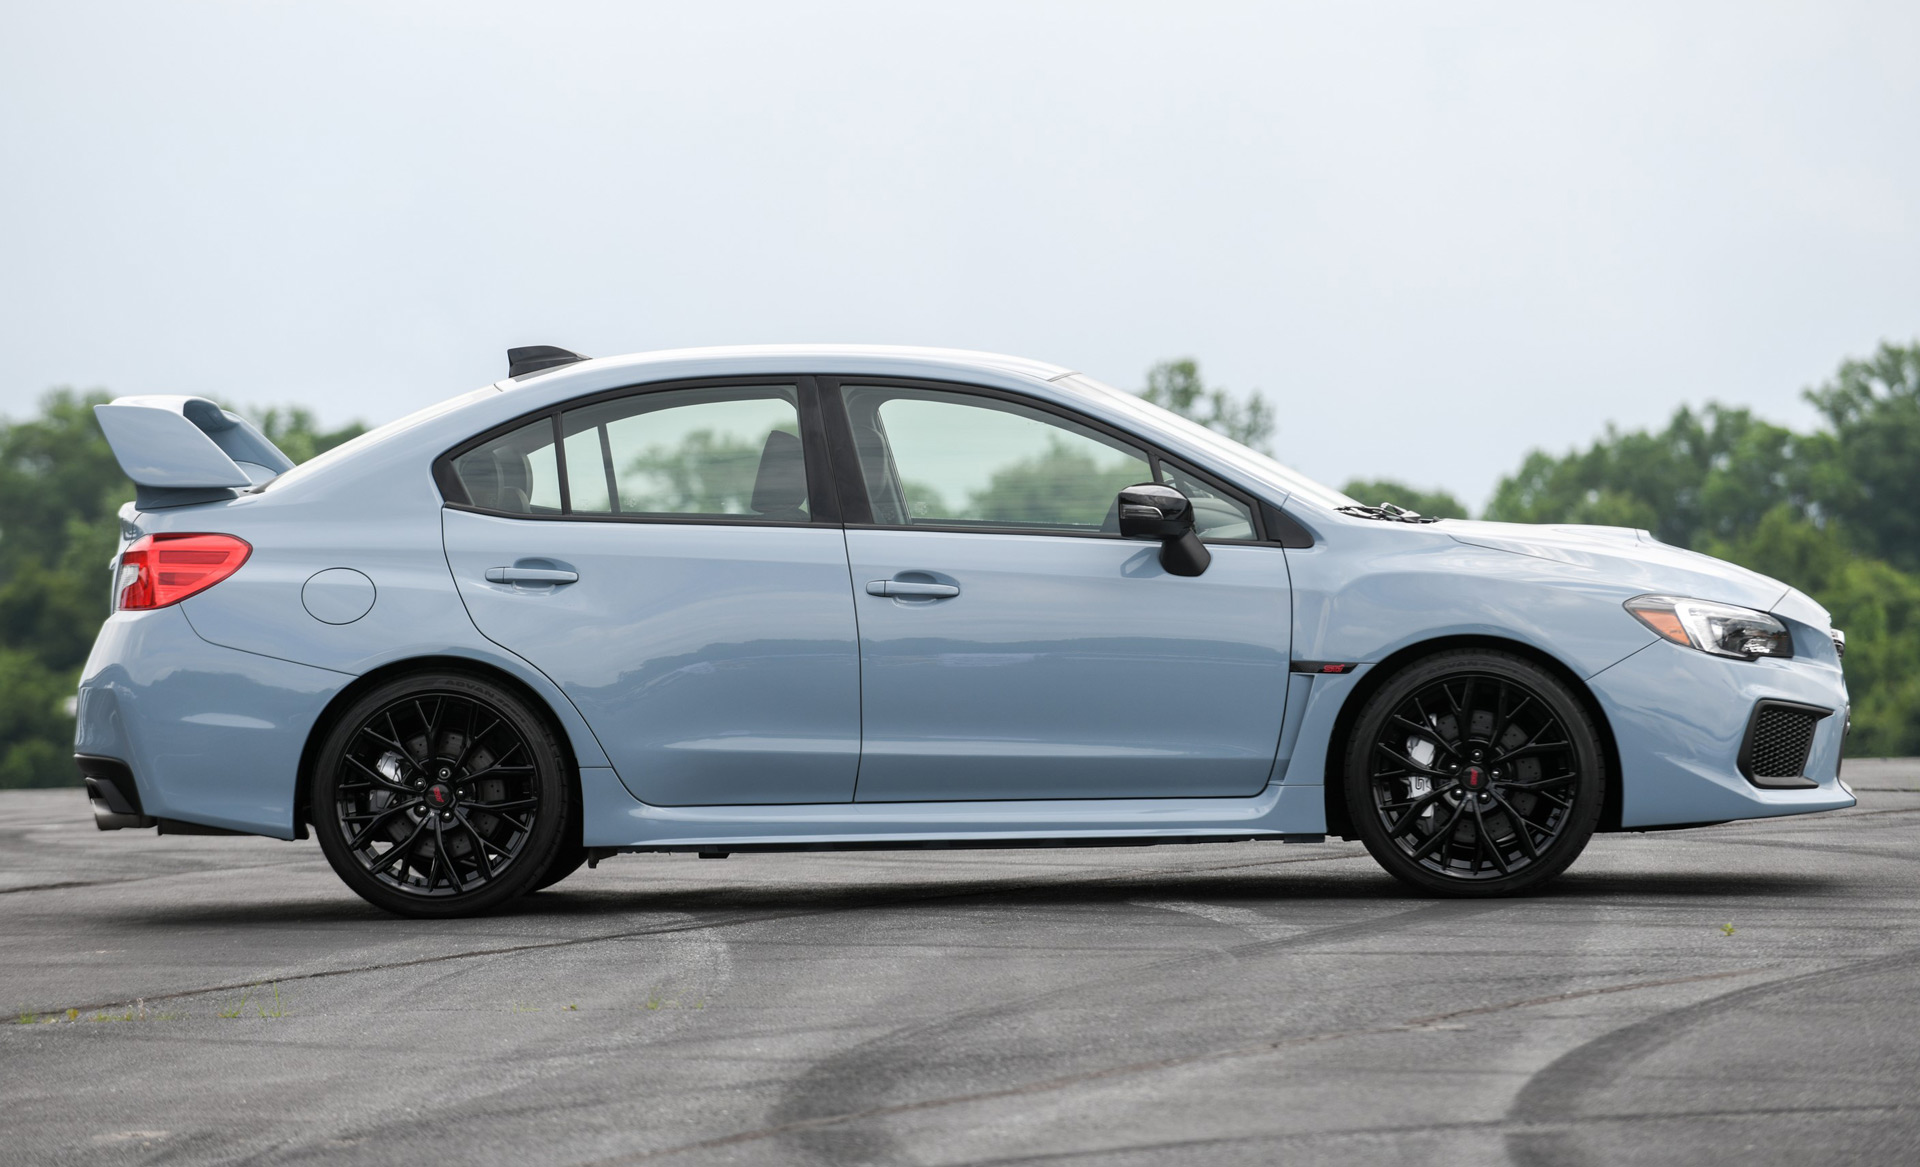
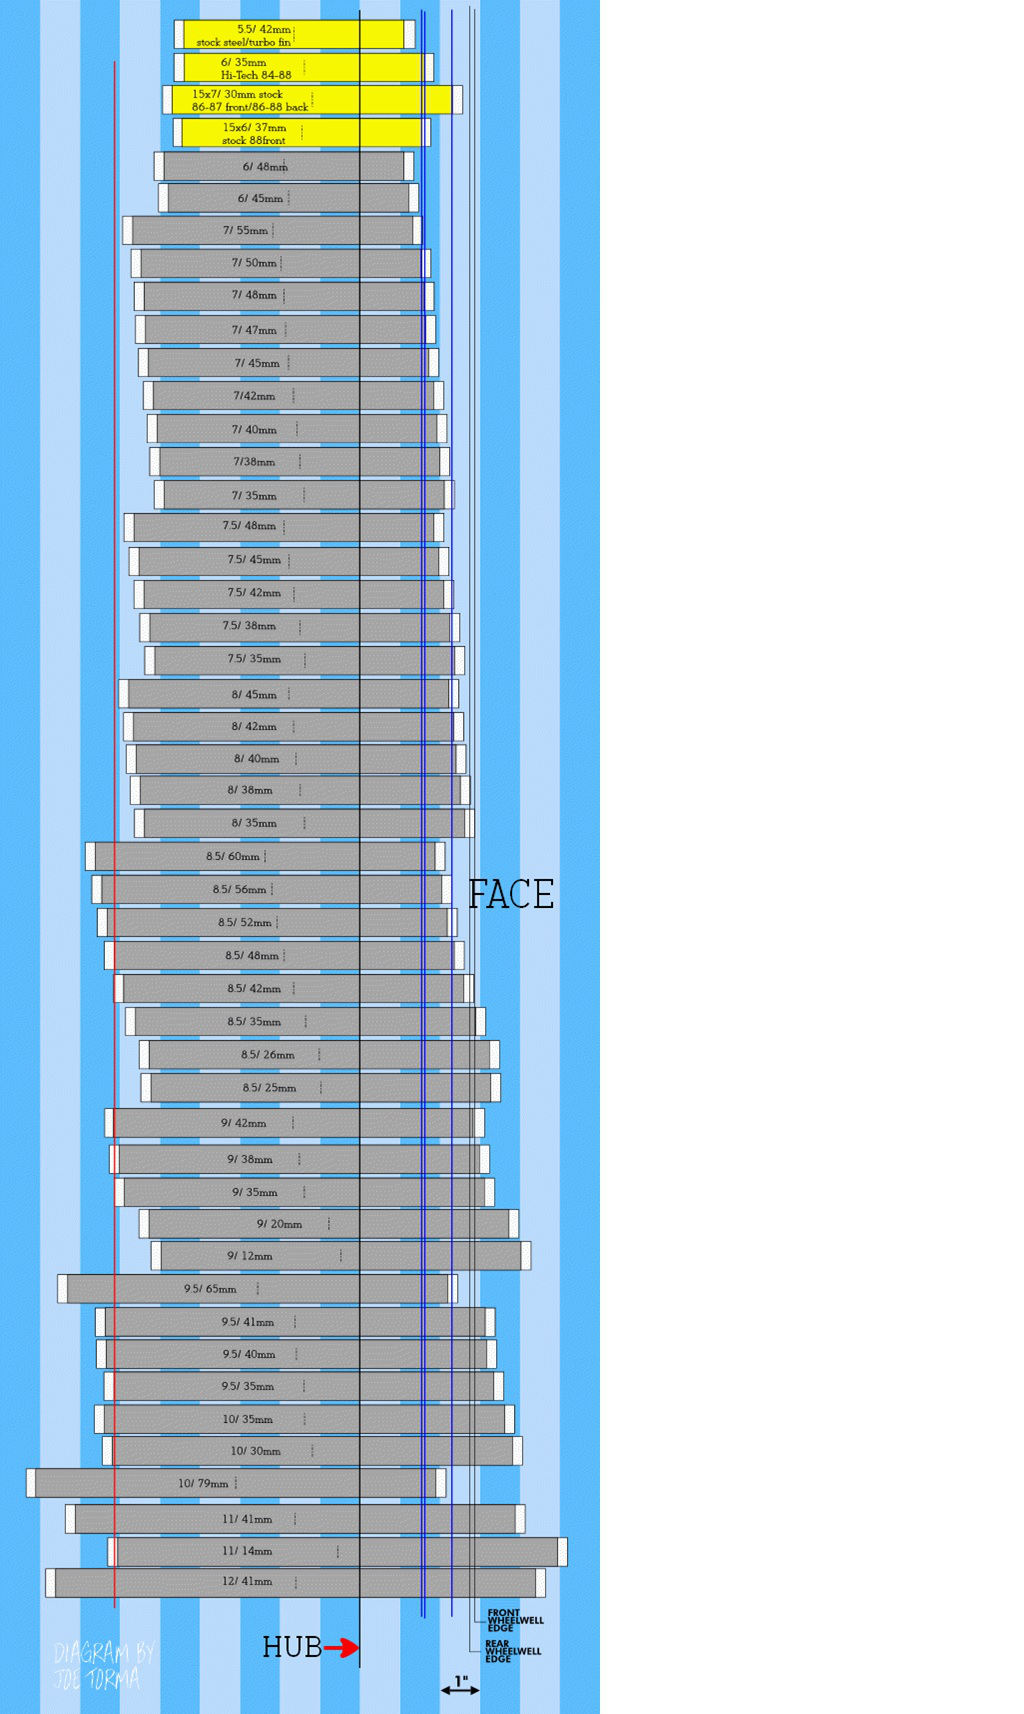
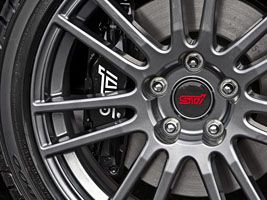
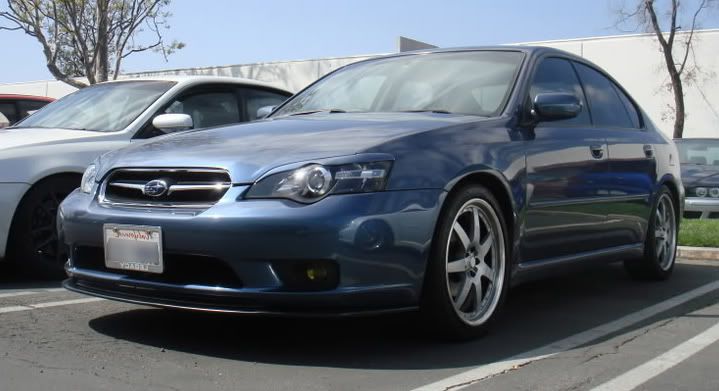
Subaru Wheel Offset Chart How To Choose The Right Aftermarket Wheels For Your Car.
Subaru Wheel Offset Chart The Wheel Fitment Thread Keep It Drama Free Nasioc.
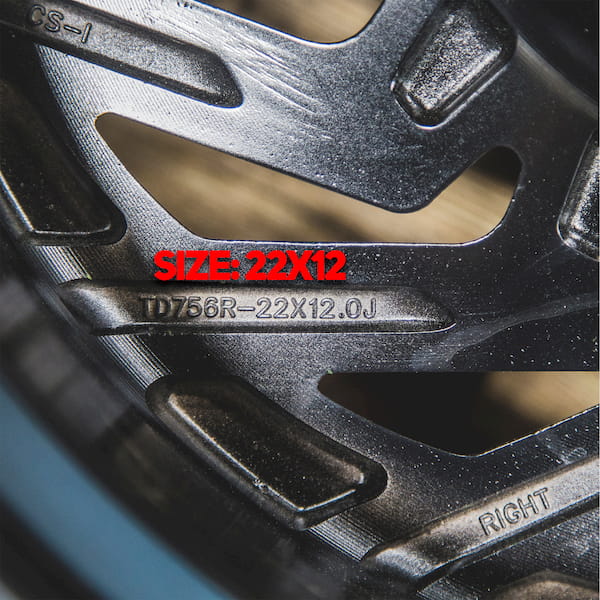
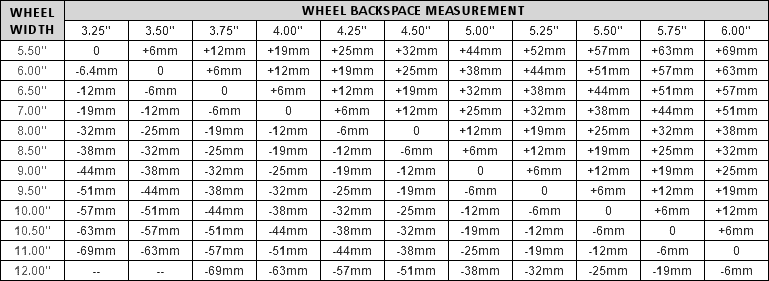
Subaru Wheel Offset Chart There Are Three Important Things To Remember With Relation.
Subaru Wheel Offset ChartSubaru Wheel Offset Chart Gold, White, Black, Red, Blue, Beige, Grey, Price, Rose, Orange, Purple, Green, Yellow, Cyan, Bordeaux, pink, Indigo, Brown, Silver,Electronics, Video Games, Computers, Cell Phones, Toys, Games, Apparel, Accessories, Shoes, Jewelry, Watches, Office Products, Sports & Outdoors, Sporting Goods, Baby Products, Health, Personal Care, Beauty, Home, Garden, Bed & Bath, Furniture, Tools, Hardware, Vacuums, Outdoor Living, Automotive Parts, Pet Supplies, Broadband, DSL, Books, Book Store, Magazine, Subscription, Music, CDs, DVDs, Videos,Online Shopping