
firearm science bullet trajectory


 300 Wsm Ballistics Chart Barnes 458 Lott Ballistics Chart
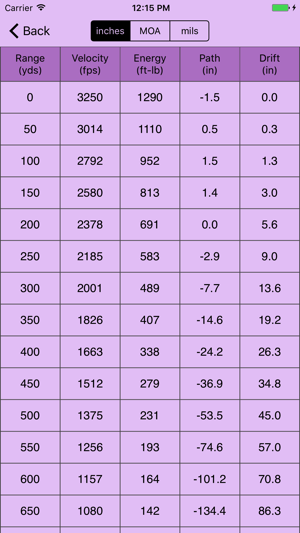
 53 Skillful 50 Caliber Muzzleloader Ballistics Chart.
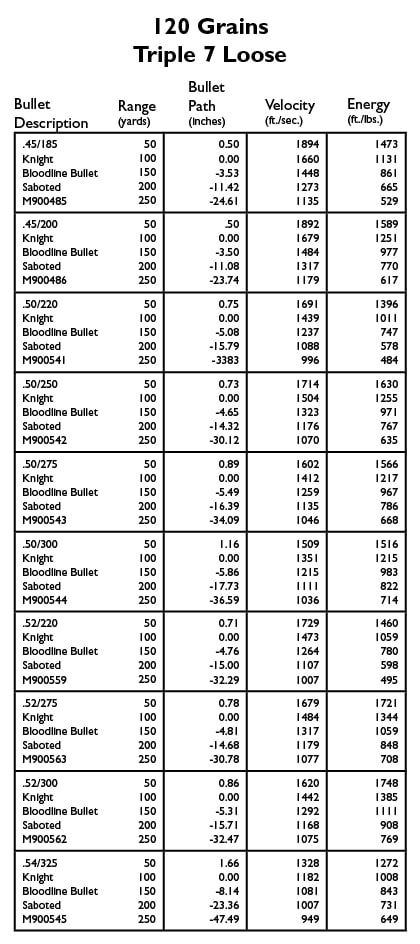
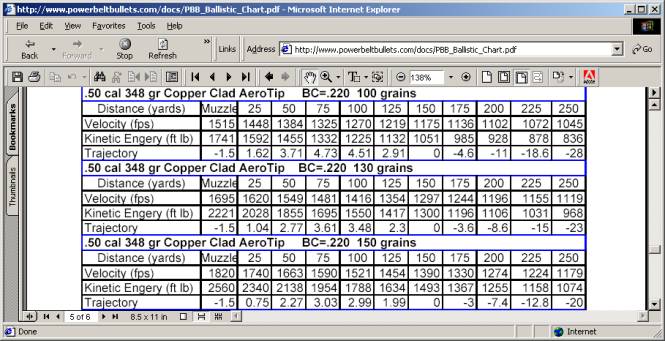
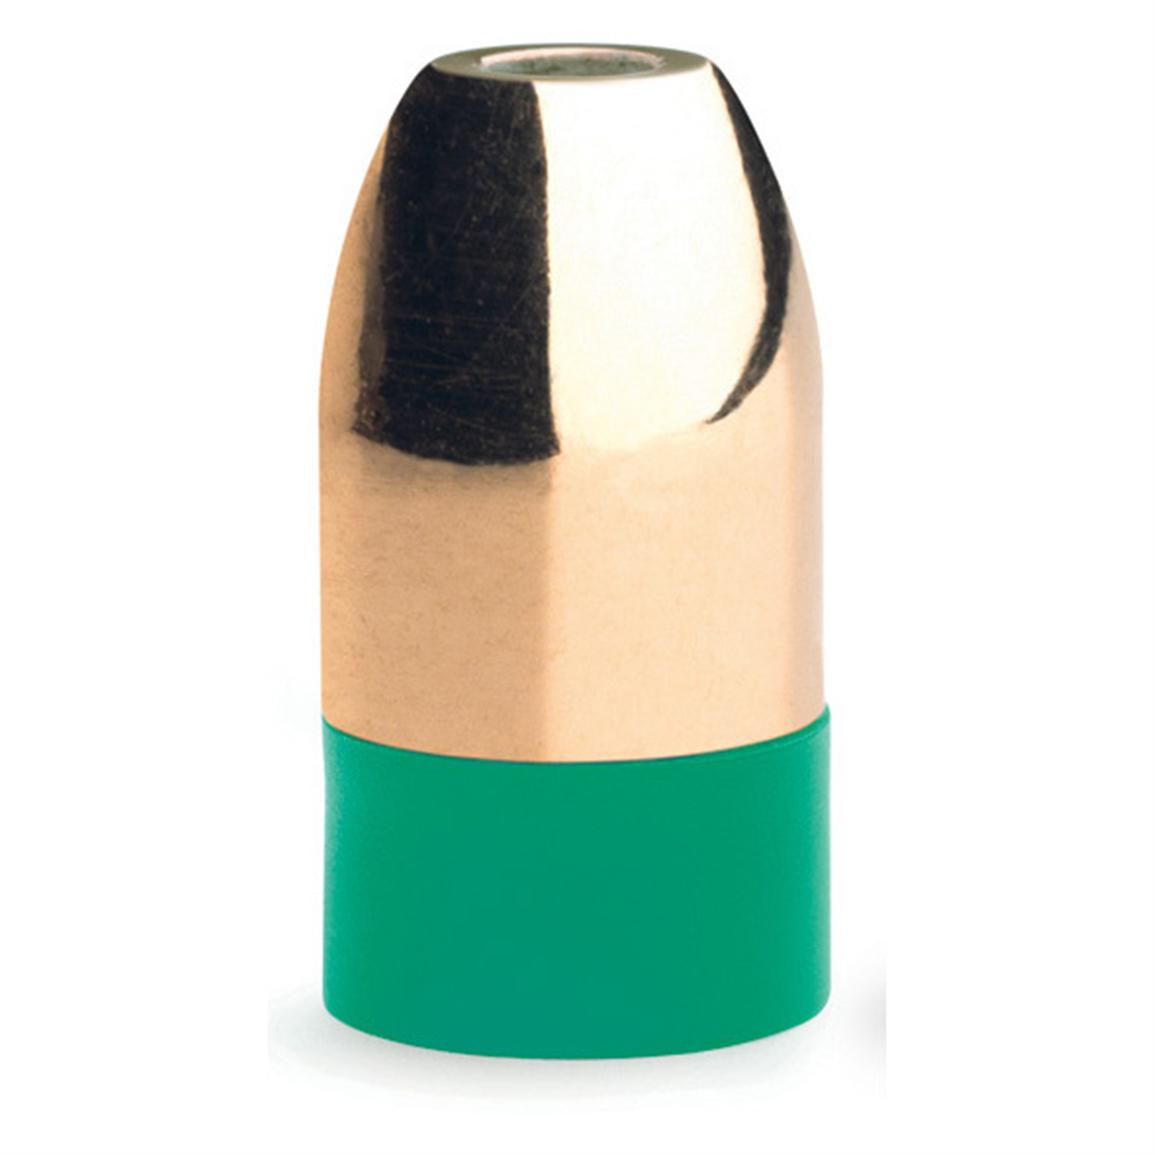
Powerbelt Trajectory Chart 300 Wsm Ballistics Chart Barnes 458 Lott Ballistics Chart.
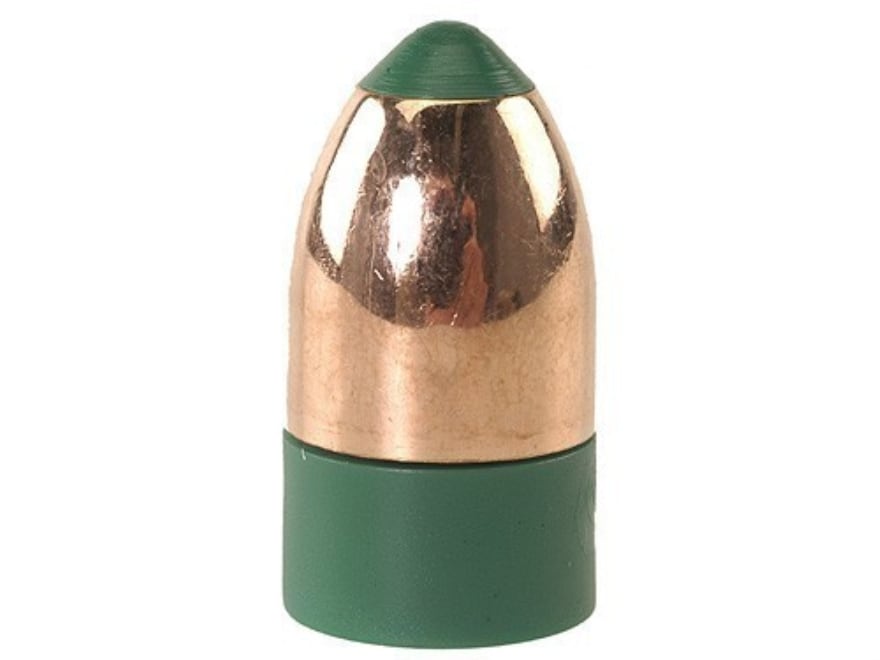
Powerbelt Trajectory Chart More Ballistics Testing Huntingnet Com Forums.
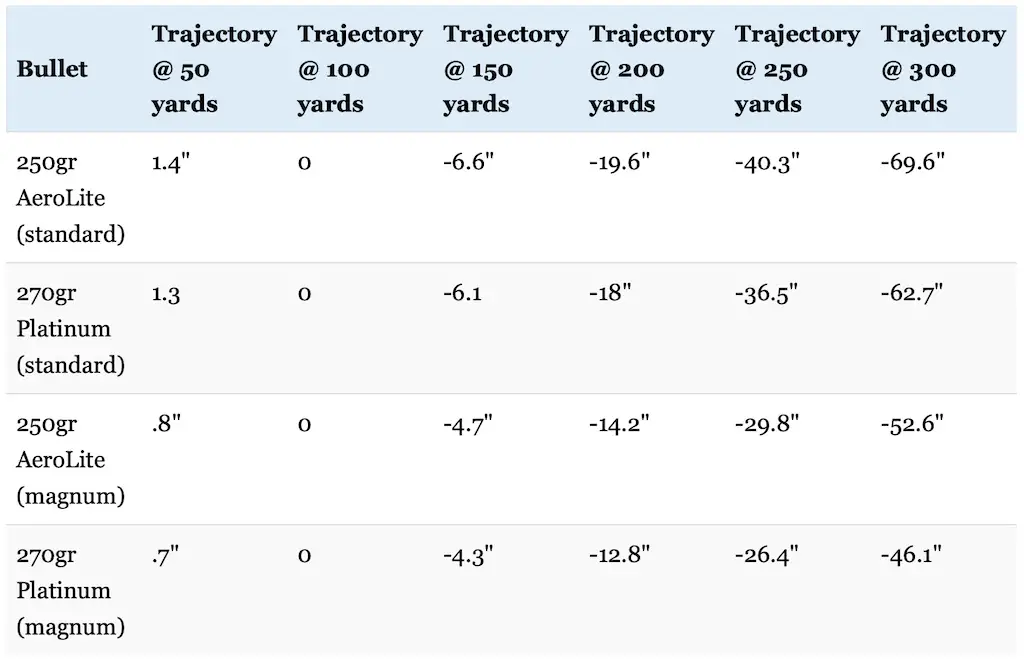
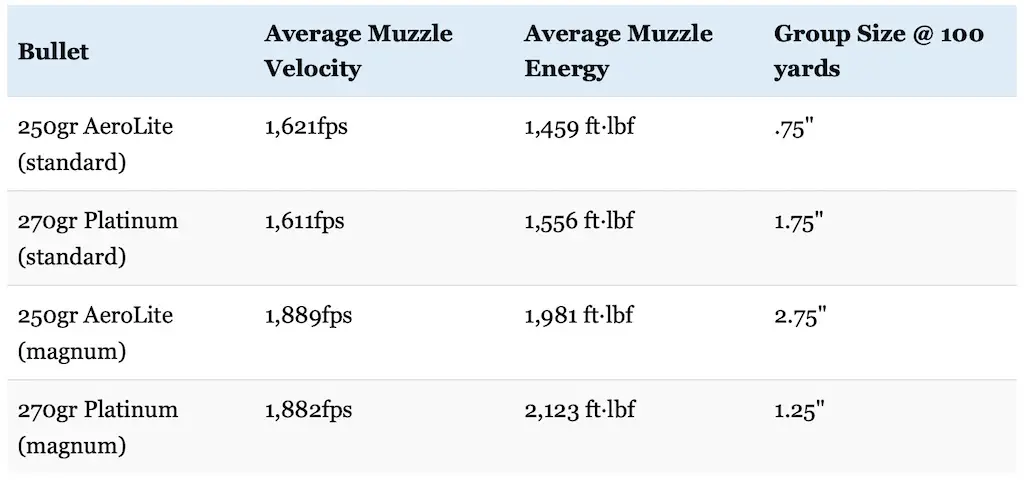
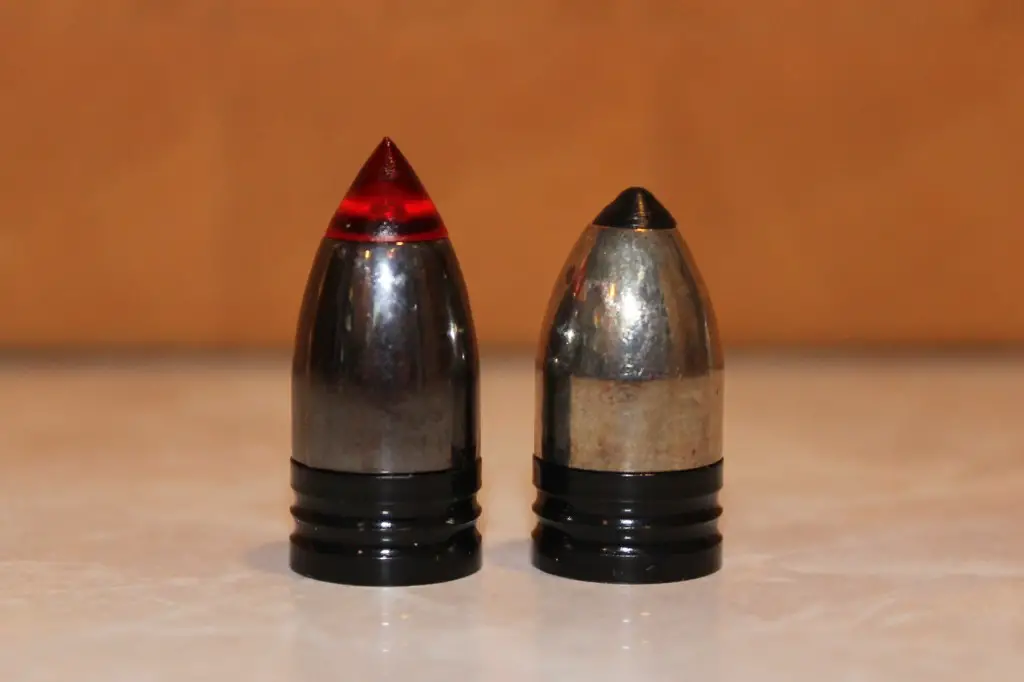
Powerbelt Trajectory Chart 53 Fresh Blackhorn 209 Trajectory Charts Home Furniture.
Powerbelt Trajectory ChartPowerbelt Trajectory Chart Gold, White, Black, Red, Blue, Beige, Grey, Price, Rose, Orange, Purple, Green, Yellow, Cyan, Bordeaux, pink, Indigo, Brown, Silver,Electronics, Video Games, Computers, Cell Phones, Toys, Games, Apparel, Accessories, Shoes, Jewelry, Watches, Office Products, Sports & Outdoors, Sporting Goods, Baby Products, Health, Personal Care, Beauty, Home, Garden, Bed & Bath, Furniture, Tools, Hardware, Vacuums, Outdoor Living, Automotive Parts, Pet Supplies, Broadband, DSL, Books, Book Store, Magazine, Subscription, Music, CDs, DVDs, Videos,Online Shopping