
nz 5125 hydrographic nautical chart bay of islands

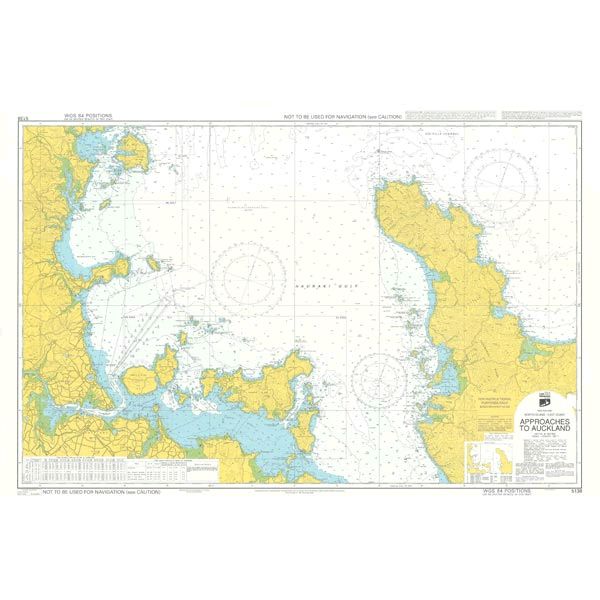


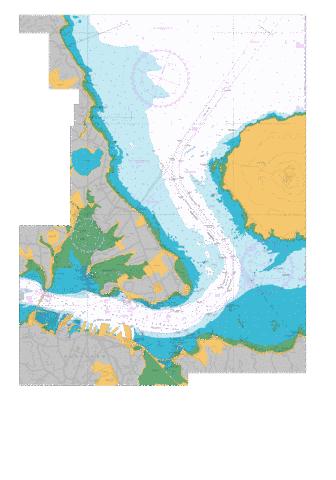


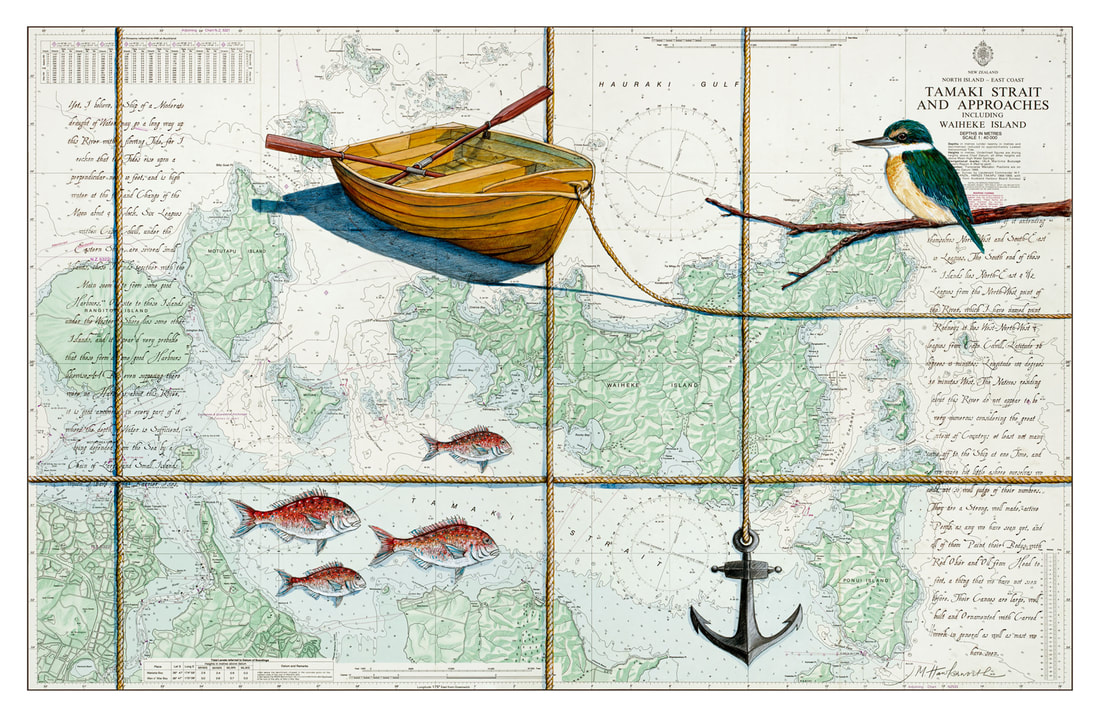


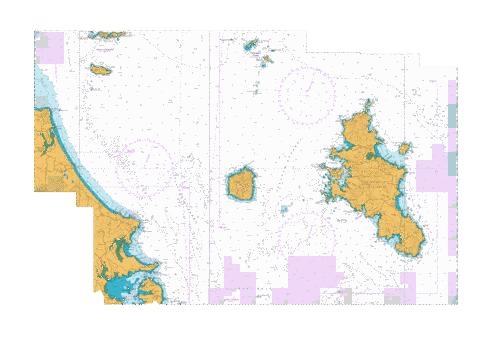

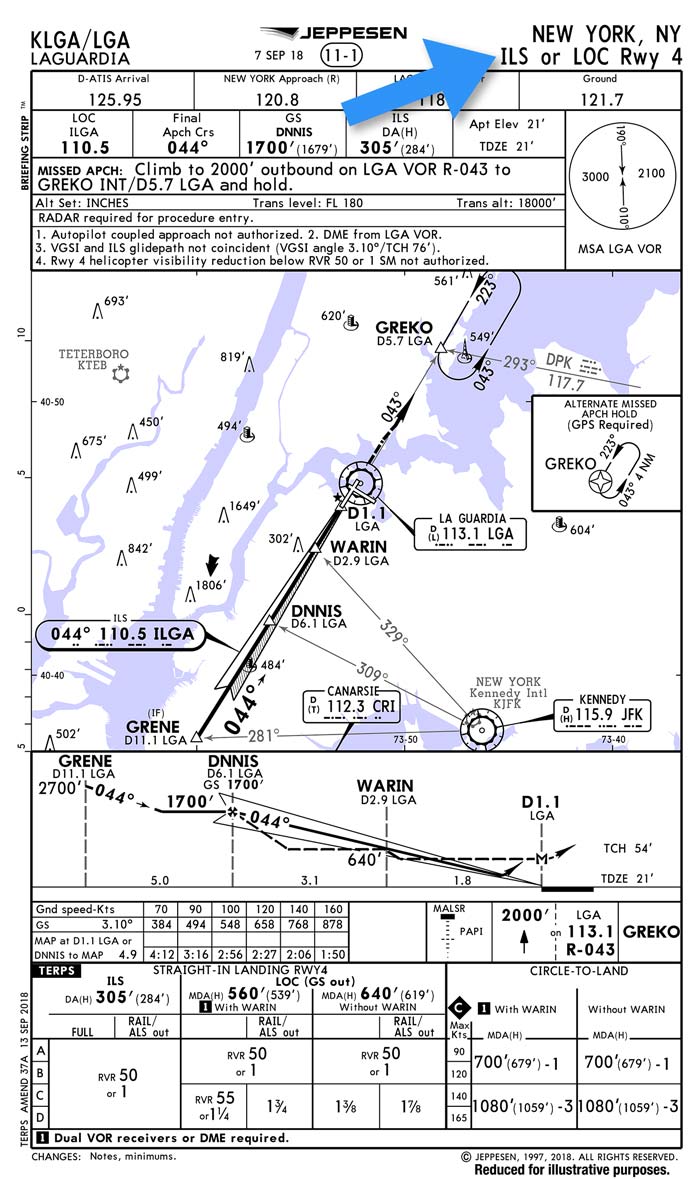
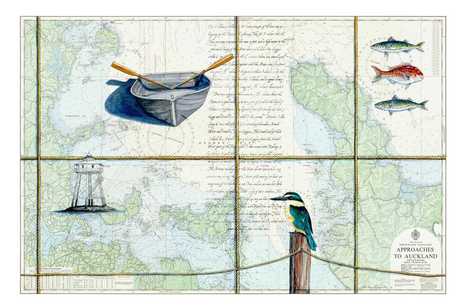
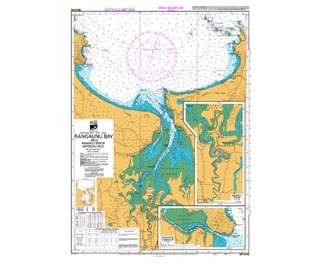


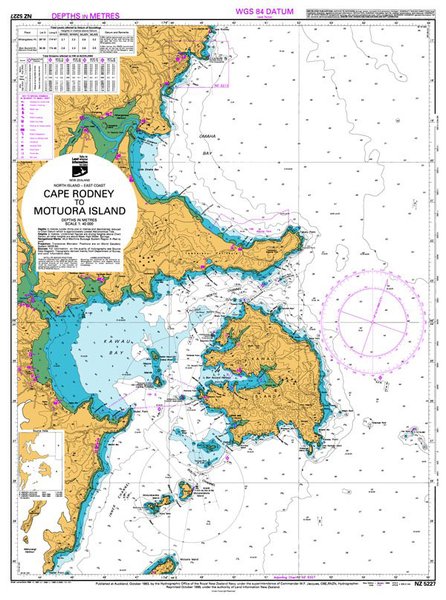


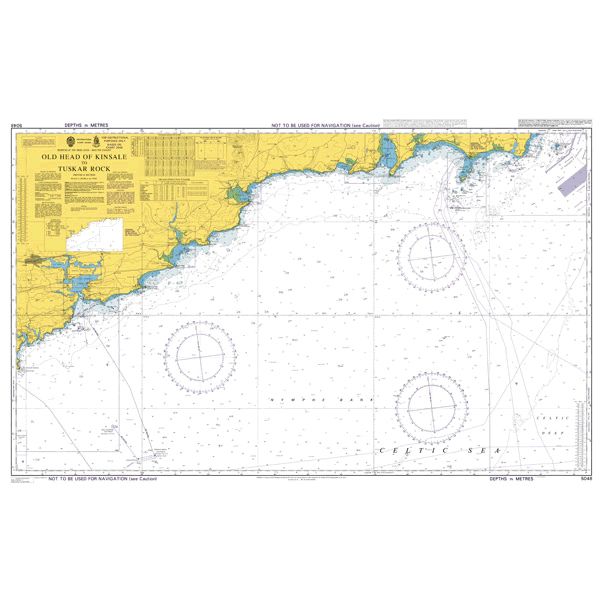


 Chart Y35 Portsmouth Harbour And Approaches
 Could You Pass These 6 Airline Interview Questions About.
Approaches To Auckland Chart Nz 4541 Approaches To Wanganui Chart.
Approaches To Auckland Chart Buy Nautical Chart Nz 532 Approaches To Auckland 2012.
Approaches To Auckland Chart Prints Justine Hawksworth Art.
Approaches To Auckland ChartApproaches To Auckland Chart Gold, White, Black, Red, Blue, Beige, Grey, Price, Rose, Orange, Purple, Green, Yellow, Cyan, Bordeaux, pink, Indigo, Brown, Silver,Electronics, Video Games, Computers, Cell Phones, Toys, Games, Apparel, Accessories, Shoes, Jewelry, Watches, Office Products, Sports & Outdoors, Sporting Goods, Baby Products, Health, Personal Care, Beauty, Home, Garden, Bed & Bath, Furniture, Tools, Hardware, Vacuums, Outdoor Living, Automotive Parts, Pet Supplies, Broadband, DSL, Books, Book Store, Magazine, Subscription, Music, CDs, DVDs, Videos,Online Shopping